OpenAPI Generation
An OpenAPI specification describes an API in a standardised format, including:
- available endpoints
- request and response contents
- authentication required for the API
OpenAPI is very well documented, so although we'll be walking you through one specific example in this guide, you'll find lots more on the OpenAPI documentation pages.
For this example, we'll be showing you how to make requests to the ExampleService project we defined in the Getting Started guide, from an iOS application.
We'll assume you have some prerequisites installed:
We'll also assume you have some understanding of Swift, although it's syntax is very straightforward, so shouldn't pose too much of a challenge. A Swift Tour can be found on the official Swift website.
Generating the Client Library
The project we generated as part of the Getting Started contains an api folder, which contains a single YAML file:
api└── example-project.openapi.yaml
This file is the OpenAPI description of the generated server, detailing all of the available endpoints, as well as their associated request and response bodies.
We can generate a Swift client for this description using the following command:
❯❯❯ openapi-generator generate -i api/example-project.openapi.yaml -g swift4 -o ~/Desktop/example-openapi
This generates a new folder on the desktop with the OpenAPI client inside.
Setting up an Xcode Project
Next we'll setup a fresh Xcode project that uses this library.
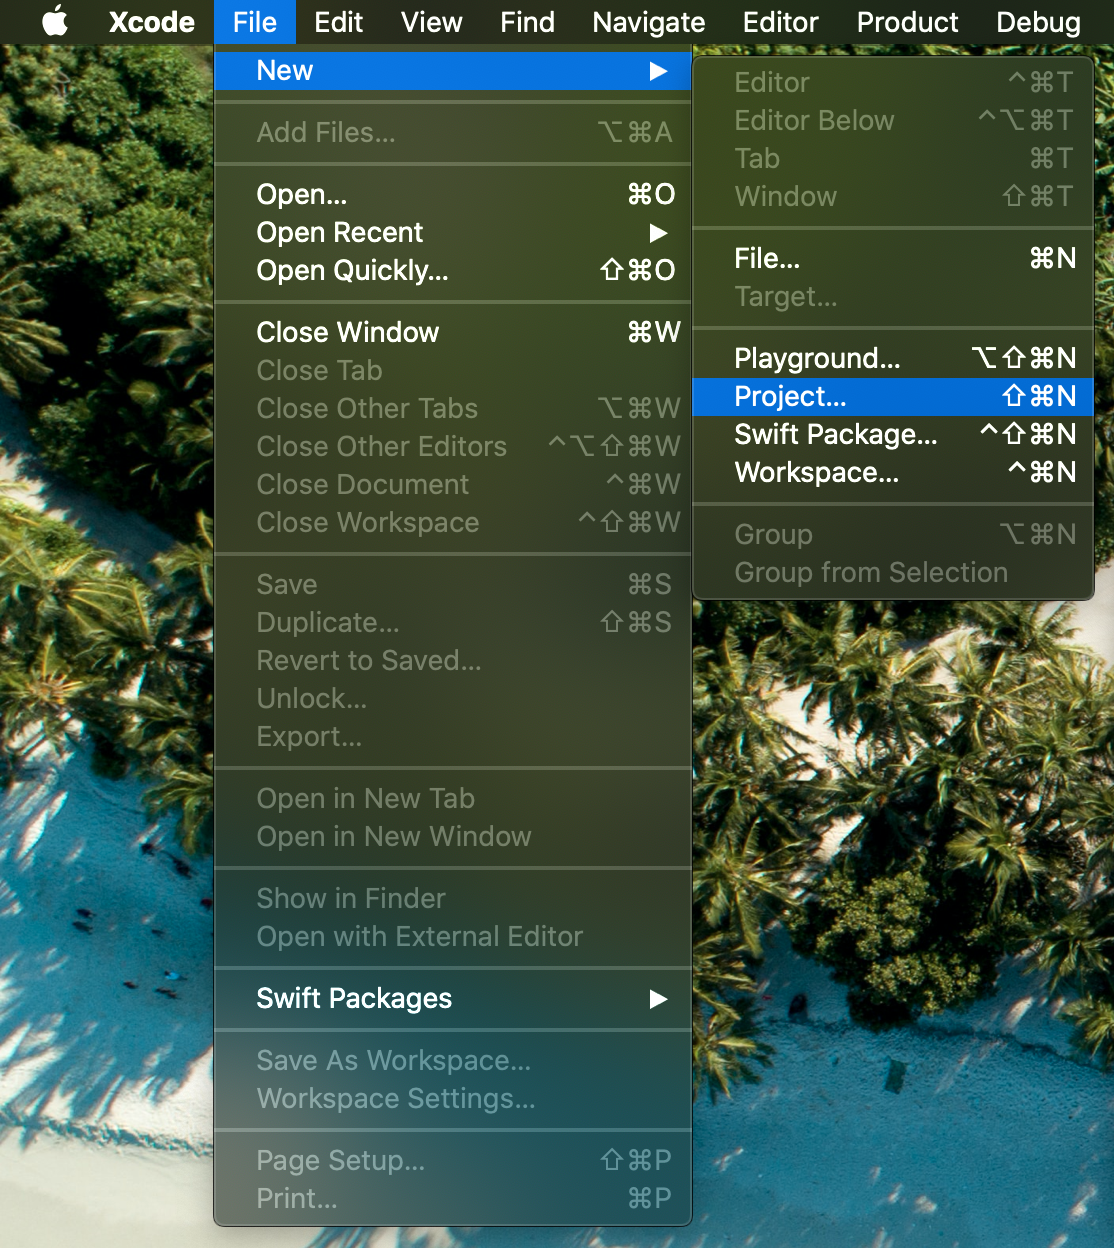
First, open Xcode, and from the menu bar select File > New > Project:
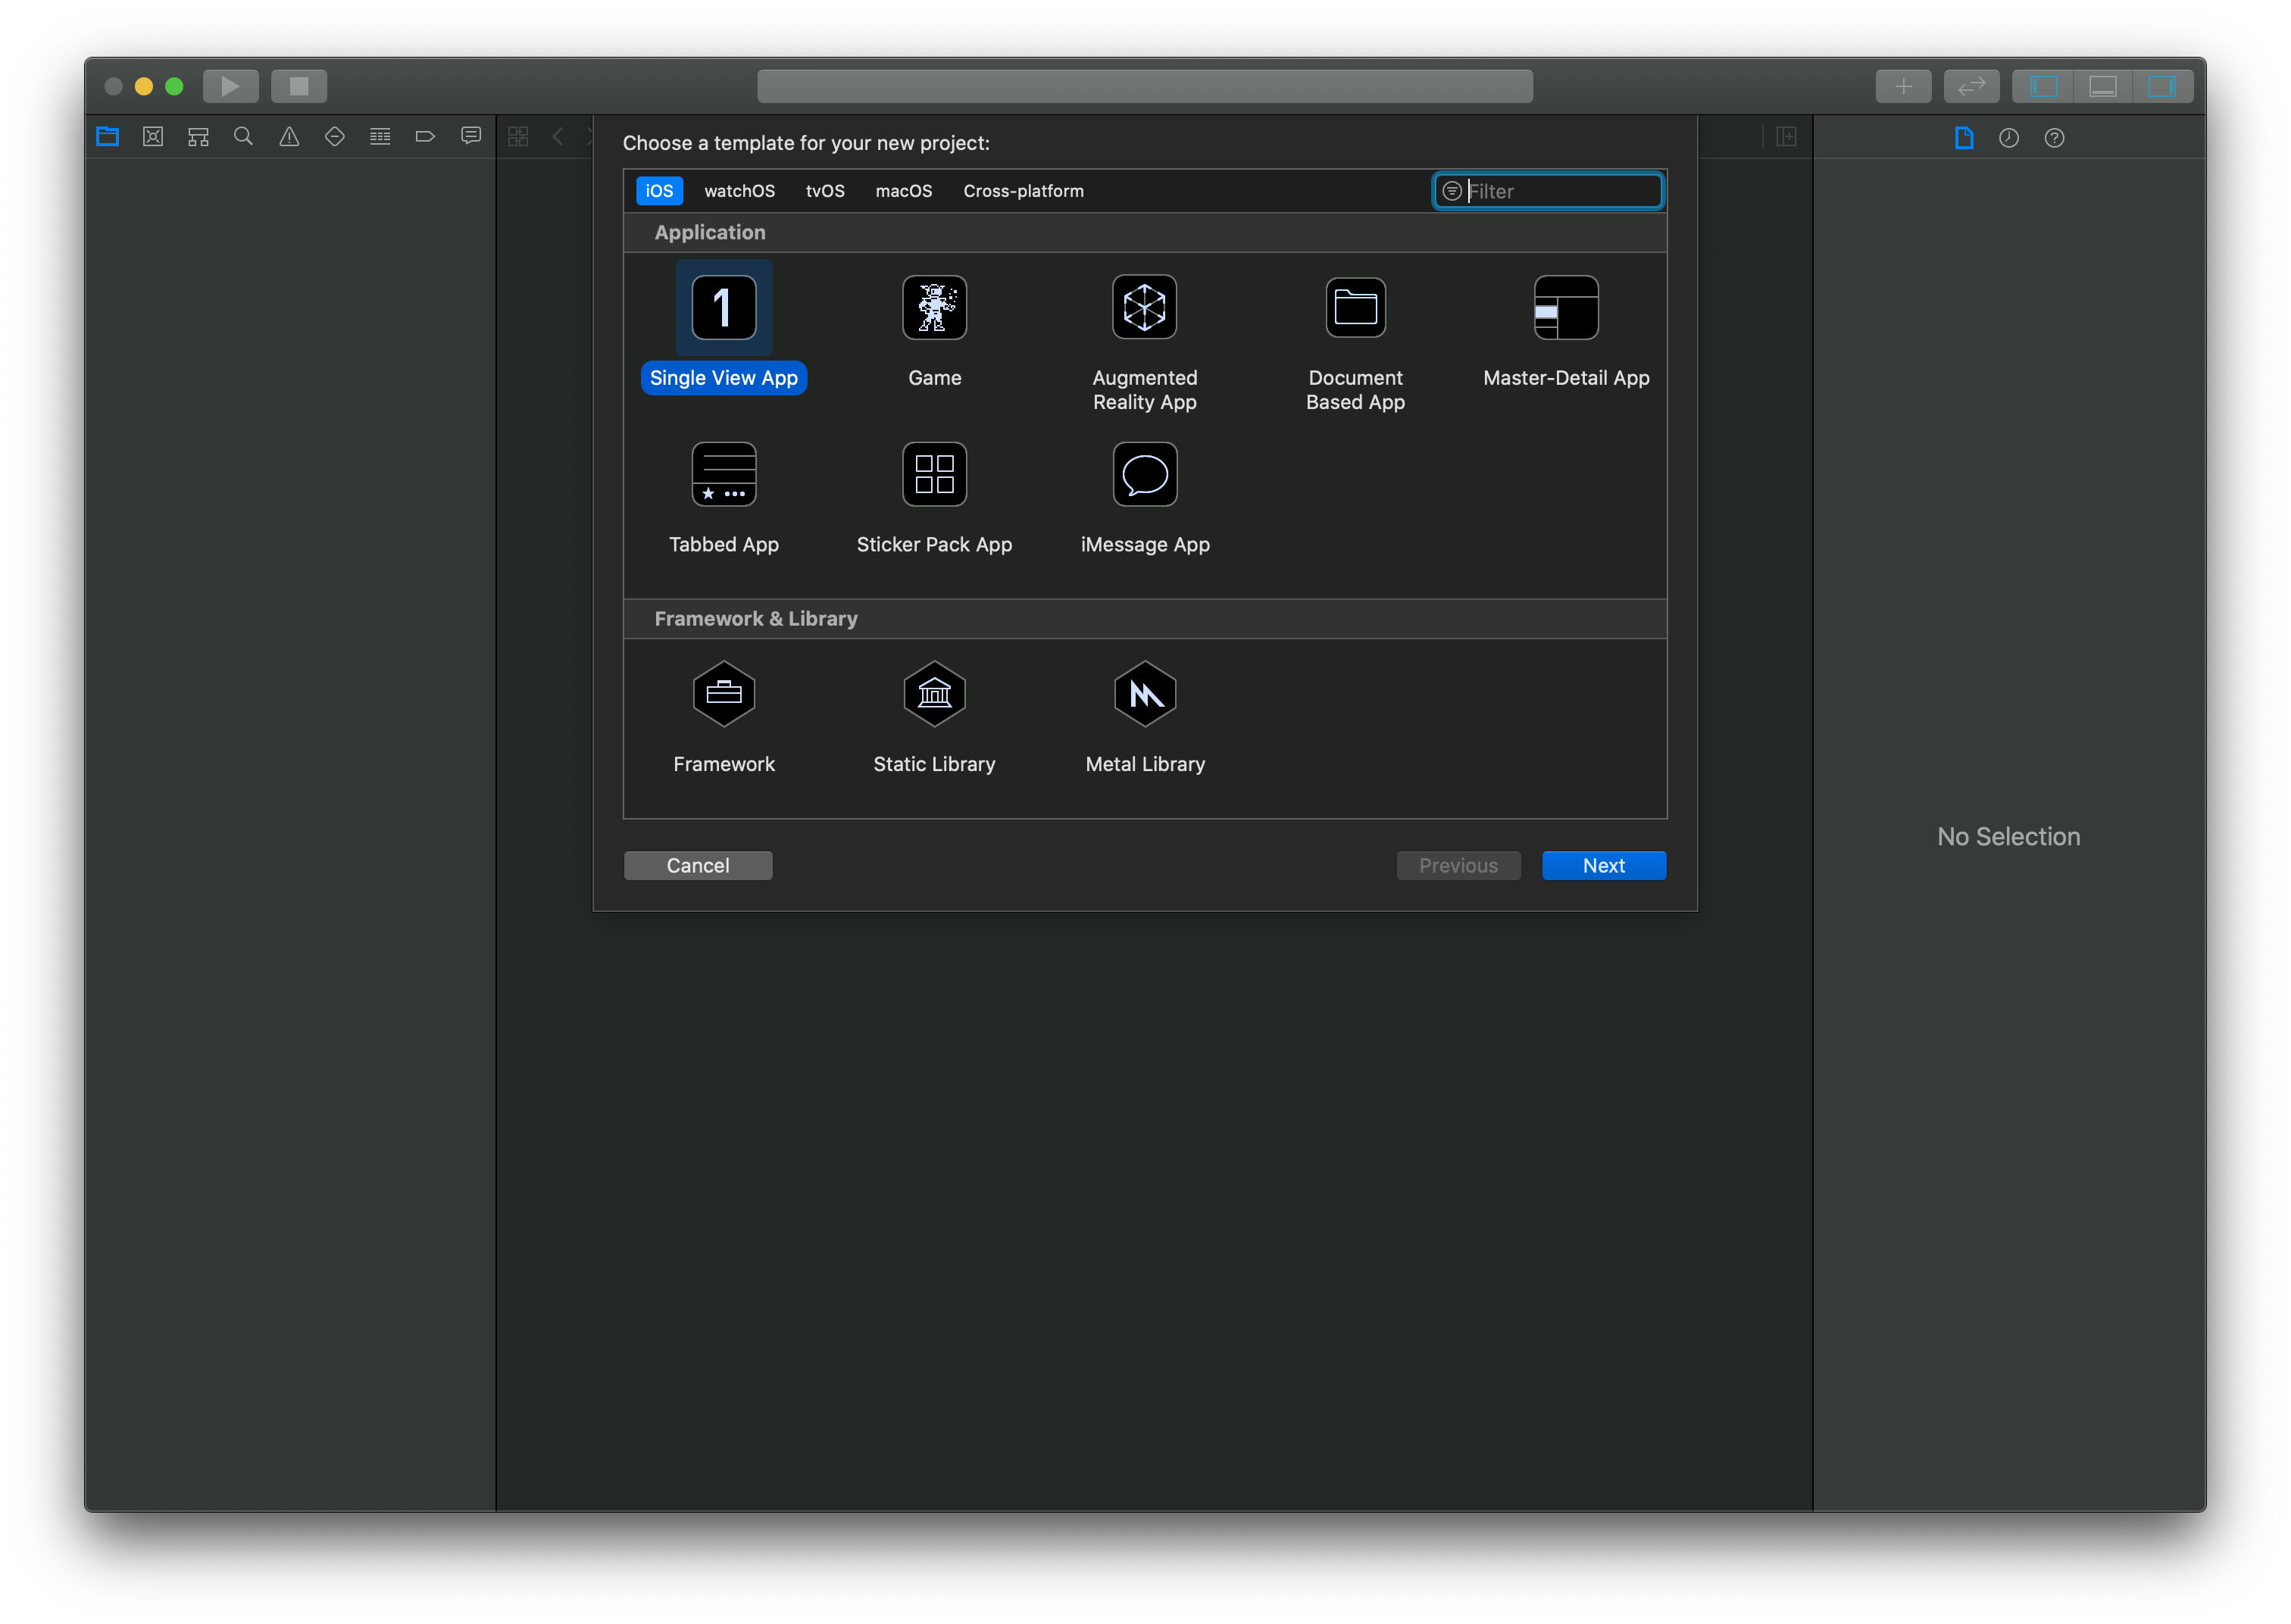
Then select Single View App:
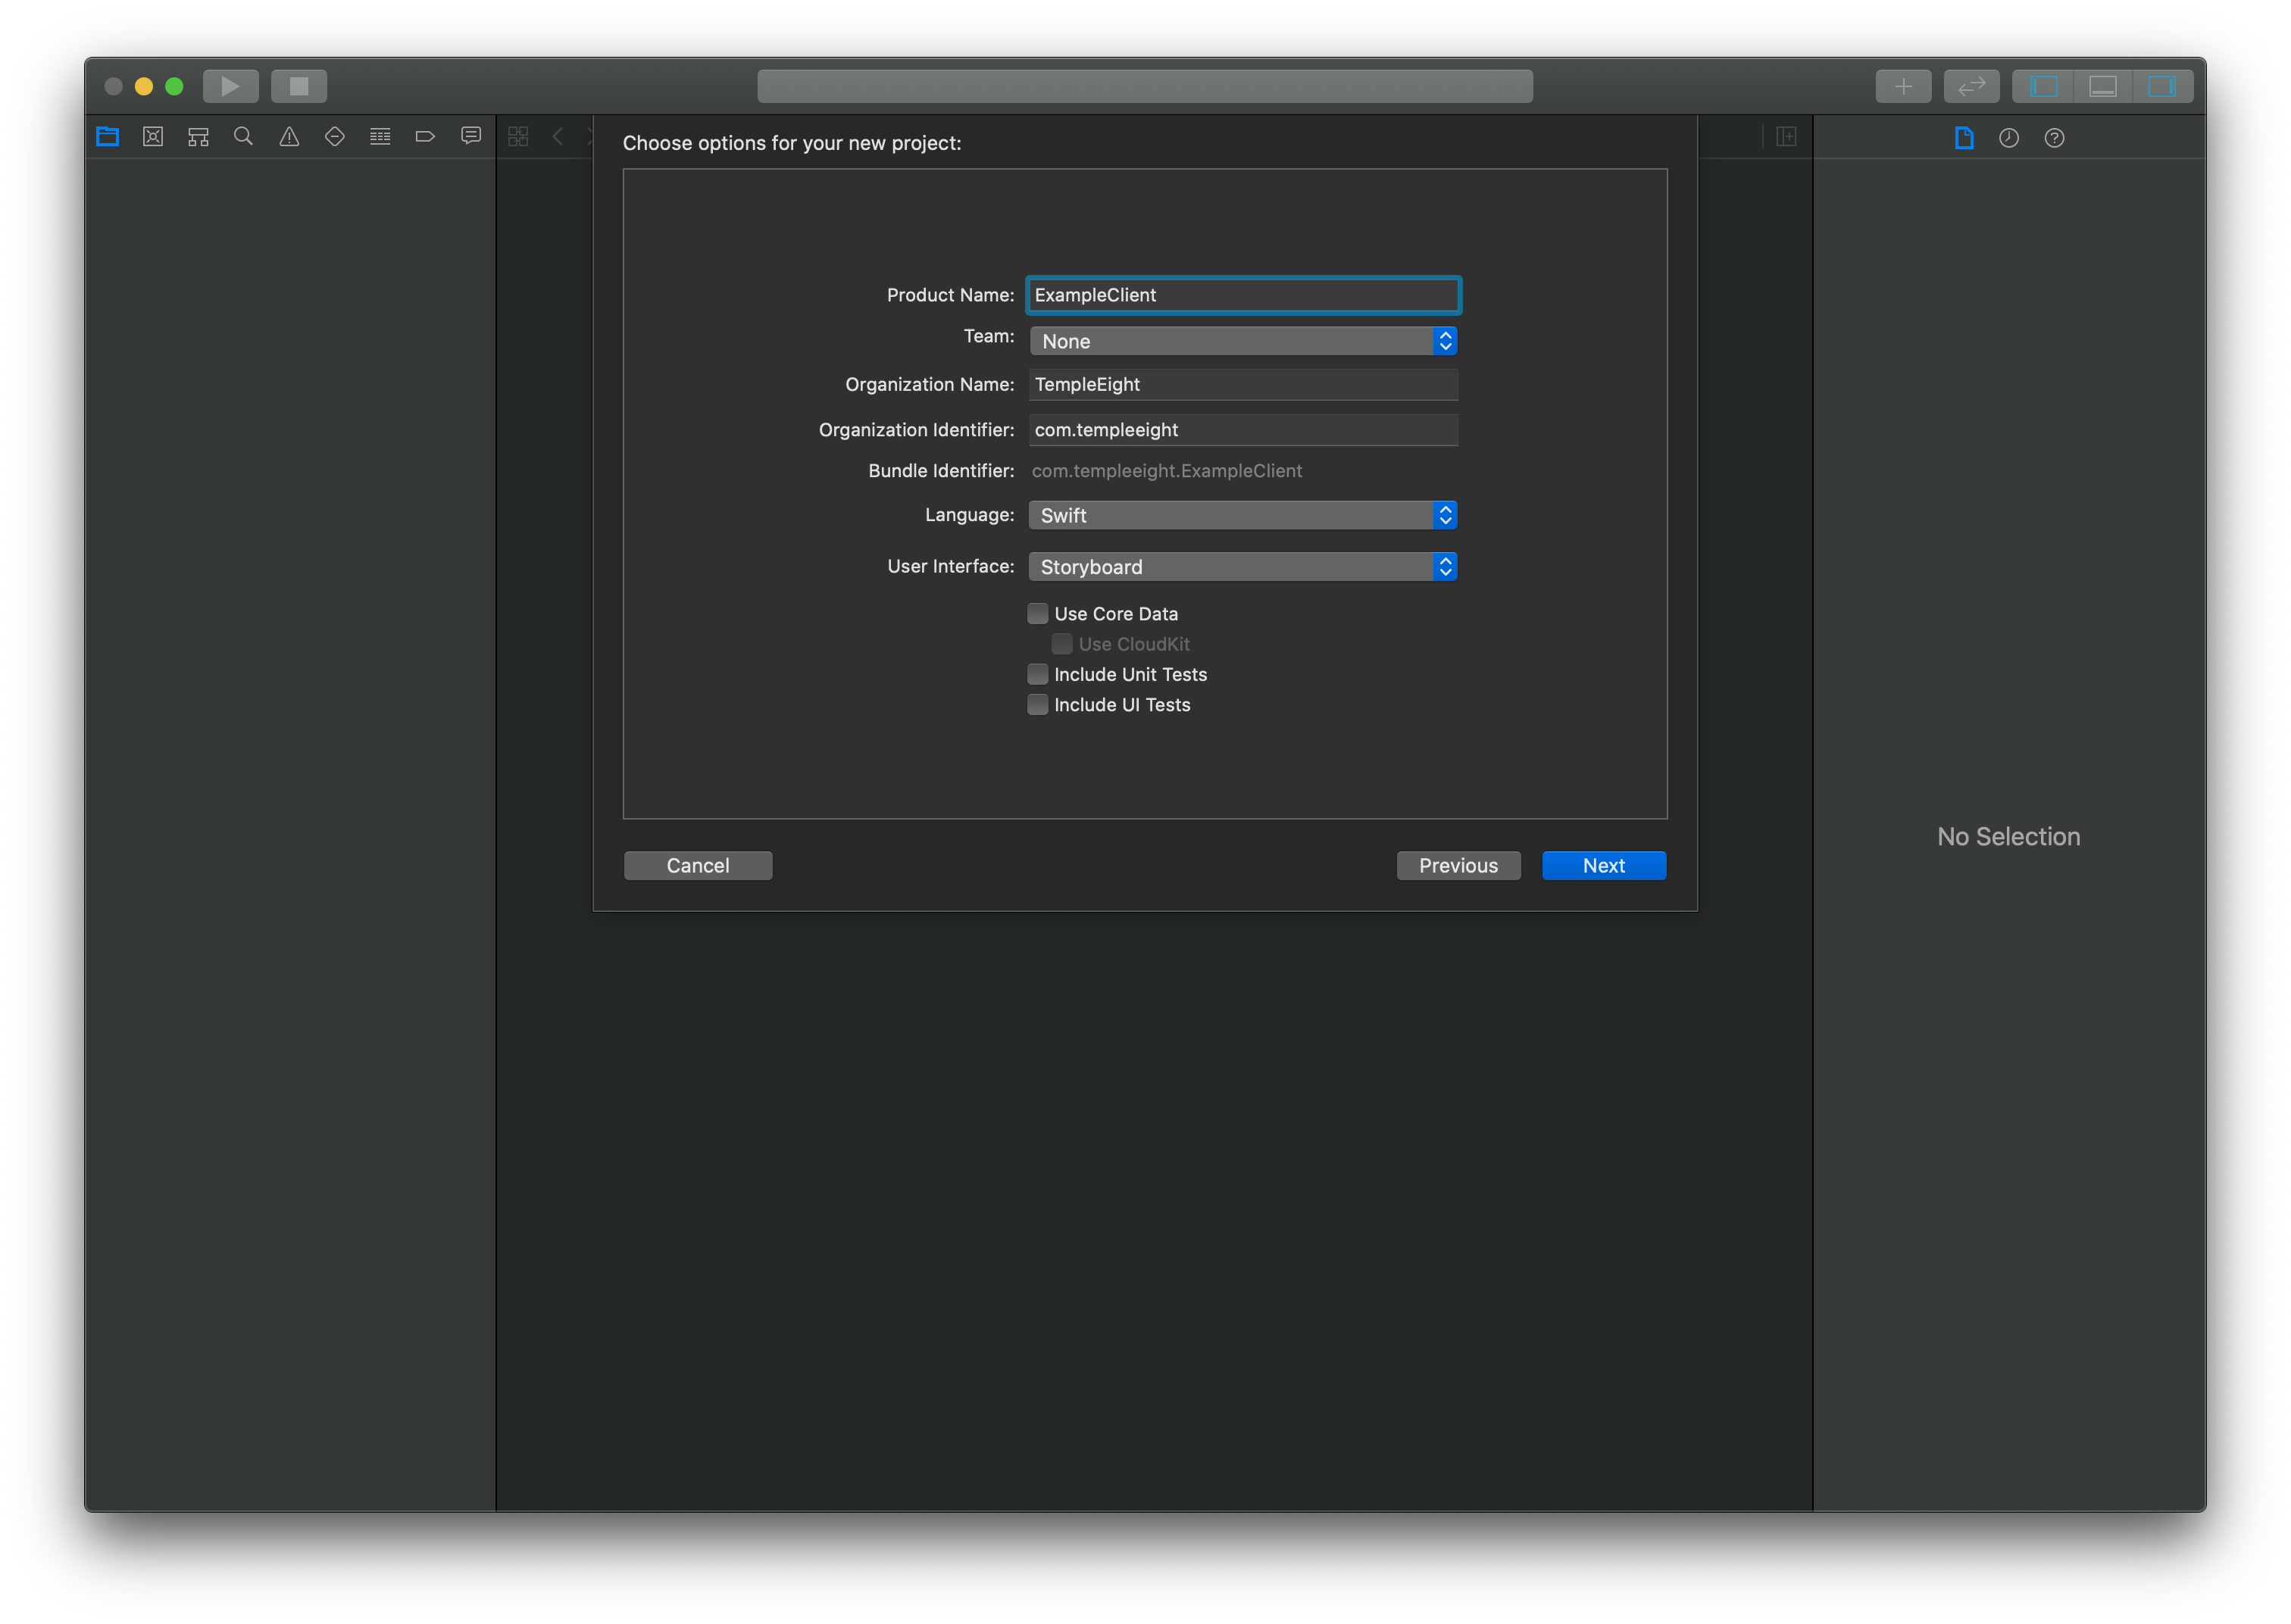
Fill in your project details as necessary, making sure to choose Storyboard for the User Interface, and then save the project:
Now - close the Xcode window that just appeared and reopen your terminal. Move to your Xcode project directory and enter the following command:
# Move to your Xcode project directory❯❯❯ cd ~/Desktop/ExampleClient# Create a new Cocoapod project❯❯❯ pod init
This will have created a Podfile similar to the following:
# Uncomment the next line to define a global platform for your project# platform :ios, '9.0'target 'ExampleClient' do# Comment the next line if you don't want to use dynamic frameworksTeuse_frameworks!# Pods for ExampleClientend
We're going to add 2 dependencies to our Podfile: one for Alamofire, a HTTP library, and another to our generated client library.
The path to the generated client library must match the -o argument to openapi-generator from the previous step.
# Uncomment the next line to define a global platform for your project# platform :ios, '9.0'target 'ExampleClient' do# Comment the next line if you don't want to use dynamic frameworksuse_frameworks!# Pods for ExampleClientpod 'Alamofire', '~> 4.9.0'pod 'OpenAPIClient', :path => '~/Desktop/example-openapi'end
Following this, install the dependencies with:
# Install the Pod dependencies❯❯❯ pod install
important
This will instruct you to use the .xcworkspace generated in this directory from now on, instead of the normal Xcode project.
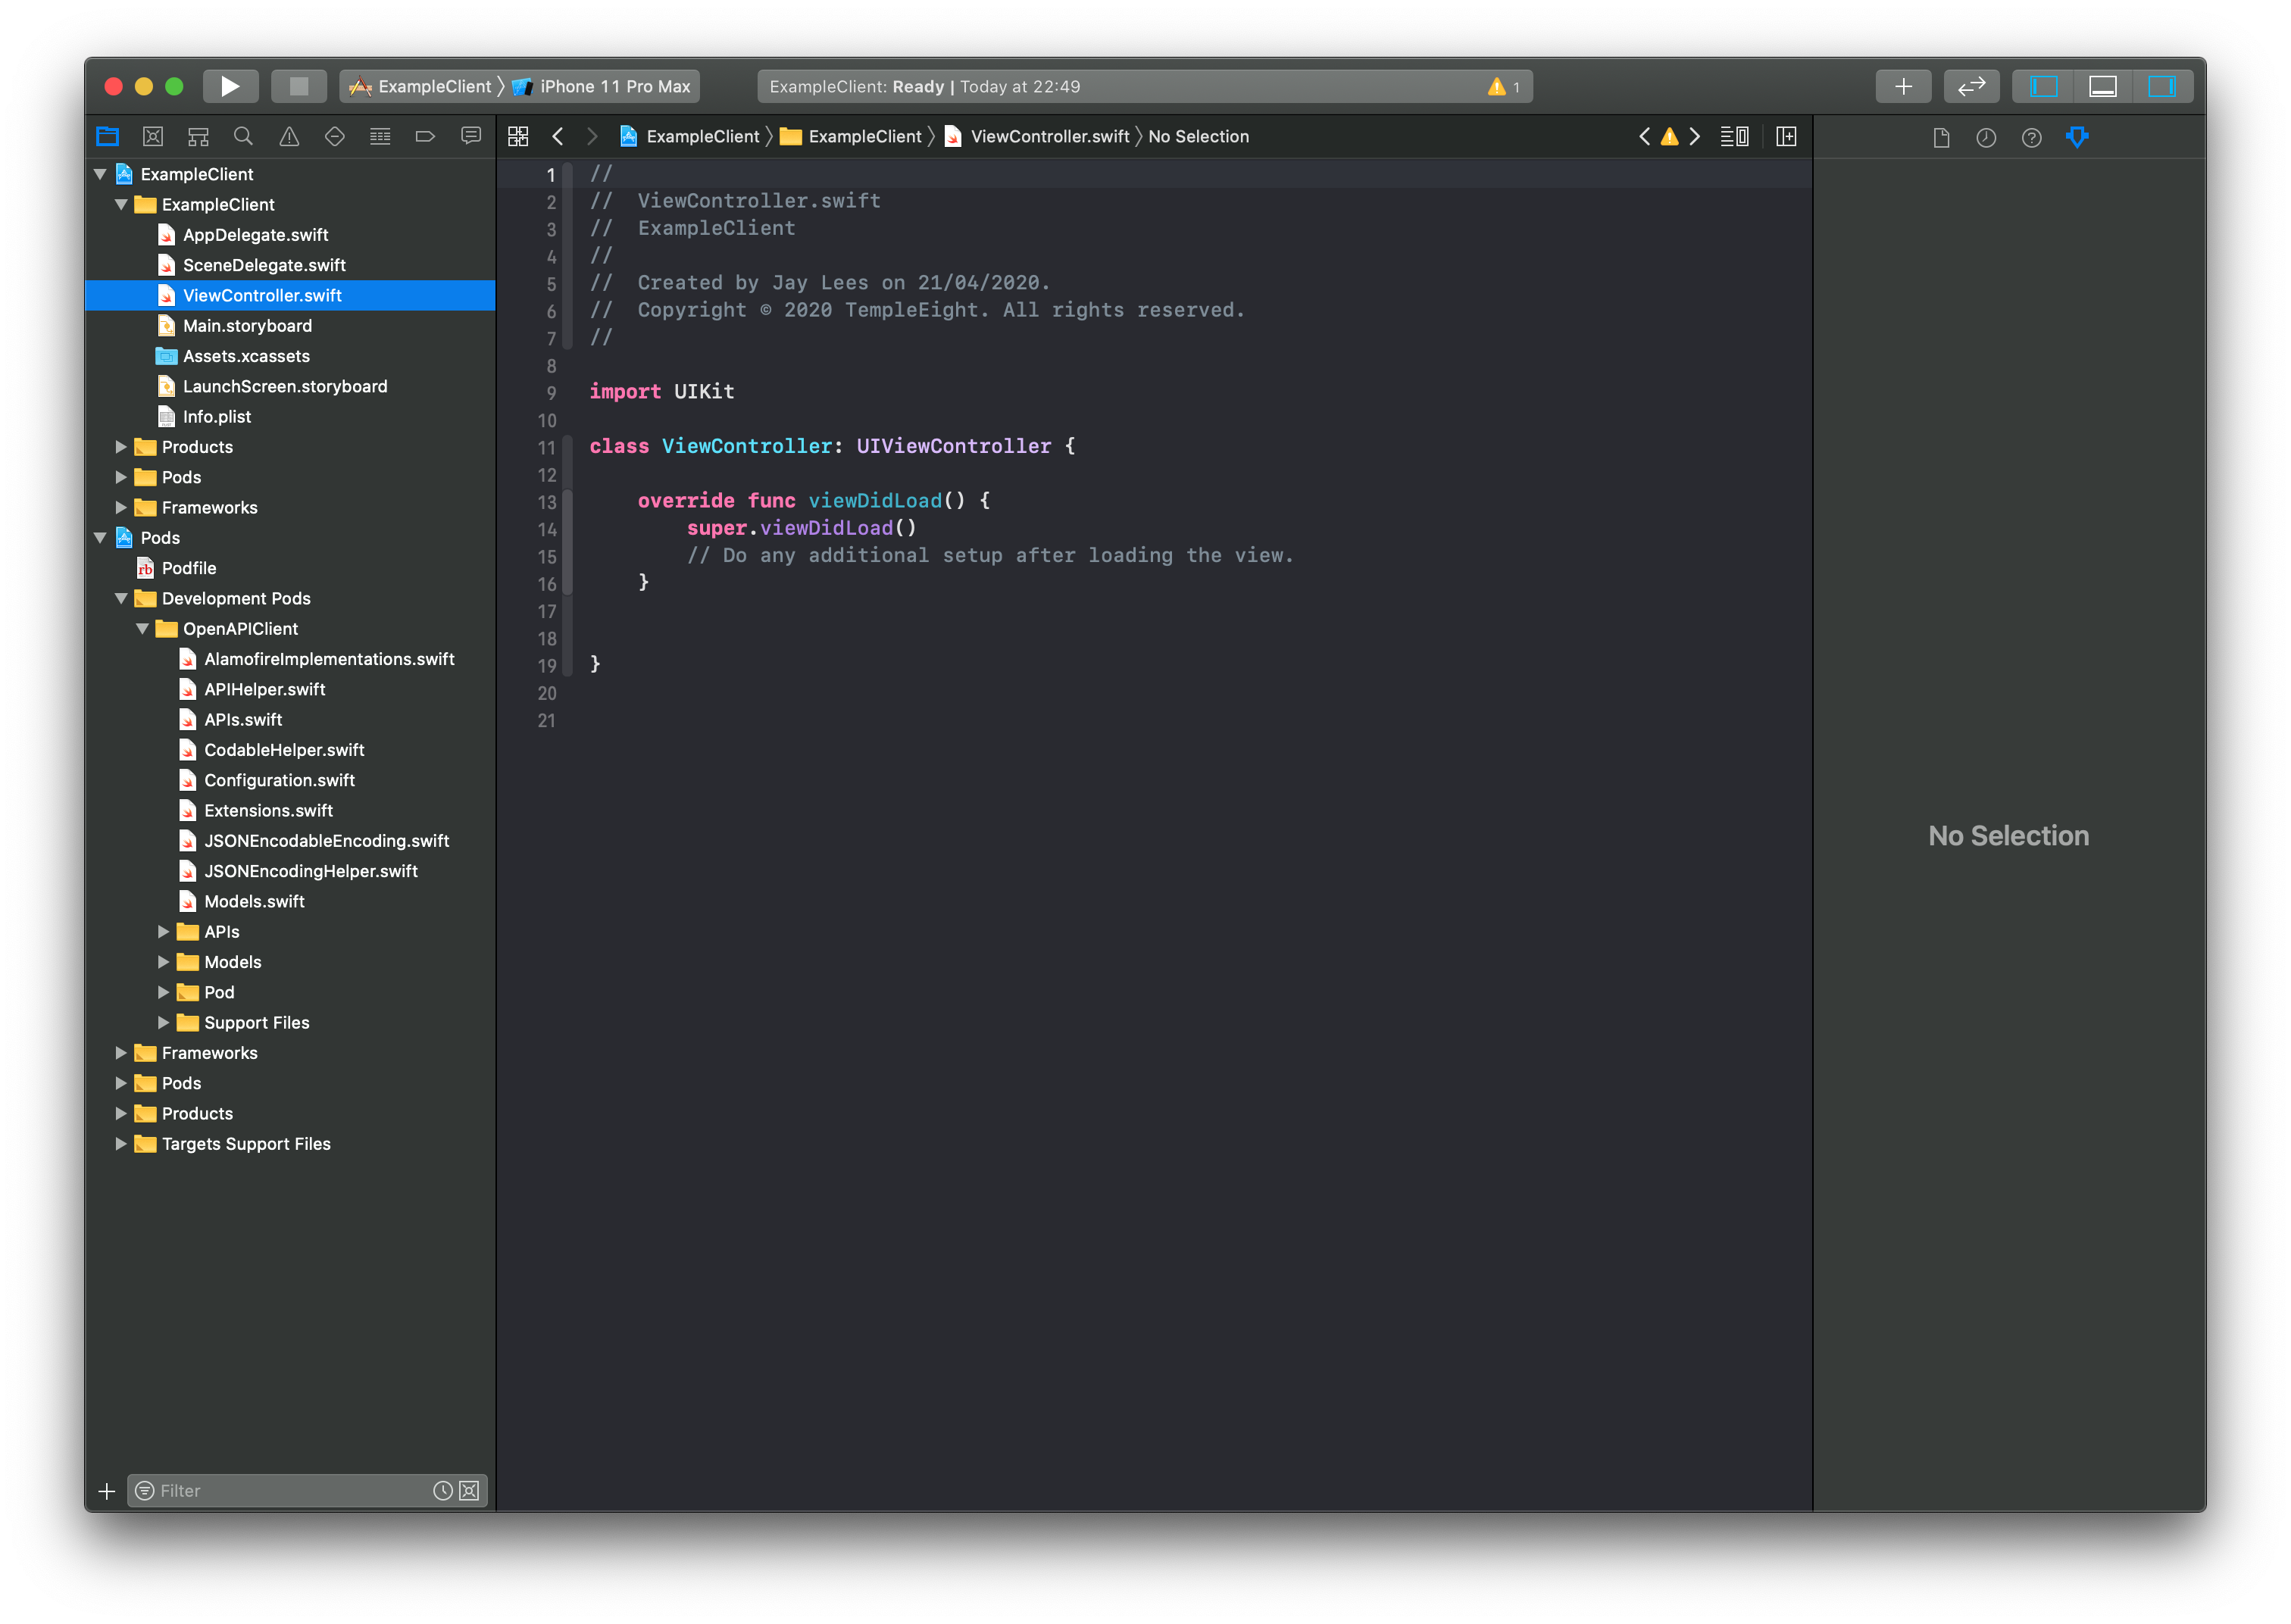
All of the code will be written in the ViewController.swift class from now on, but if you're a Swift expert, feel free to create your own.
Starting the server for local development
Before we get started writing our client, we need to deploy the Temple project for local development. This can be done by following the Getting Started guide, or from the root of the generated Temple project folder, by running the following commands:
# Deploy the services for local development❯❯❯ source deploy.sh# Find the base URL to make requests to❯❯❯ echo $KONG_ENTRYlocalhost:8000
This second step gave us the base URL where requests to our API can be made.
Using the Client API
Now, back in the Xcode project, we can tell the client where to make requests by settings the basePath property of the client, like so:
import UIKitimport OpenAPIClientclass ViewController: UIViewController {override func viewDidLoad() {super.viewDidLoad()OpenAPIClientAPI.basePath = "http://localhost:8000/api"}}
Now we can make a sample call to the ExampleService, as follows:
import UIKitimport OpenAPIClientclass ViewController: UIViewController {override func viewDidLoad() {super.viewDidLoad()OpenAPIClientAPI.basePath = "http://localhost:8000/api"ExampleServiceAPI.exampleServicePost(inlineObject: InlineObject(foo: "hello", bar: 123)) { (response, error) inguard let response = response else {fatalError(error.debugDescription)}print(response)}}}
Here we make a POST request, passing the parameters "hello" and 123 for foo and bar respectively.
We then also include a callback, which checks that the response exists otherwise causes a fatalError.
If it does exist, we output it to the console.
Allowing a localhost Connection
Since iOS only allows to make requests from URLs which are secure, we have to make a slight modification to the project in order to make a localhost service accessible.
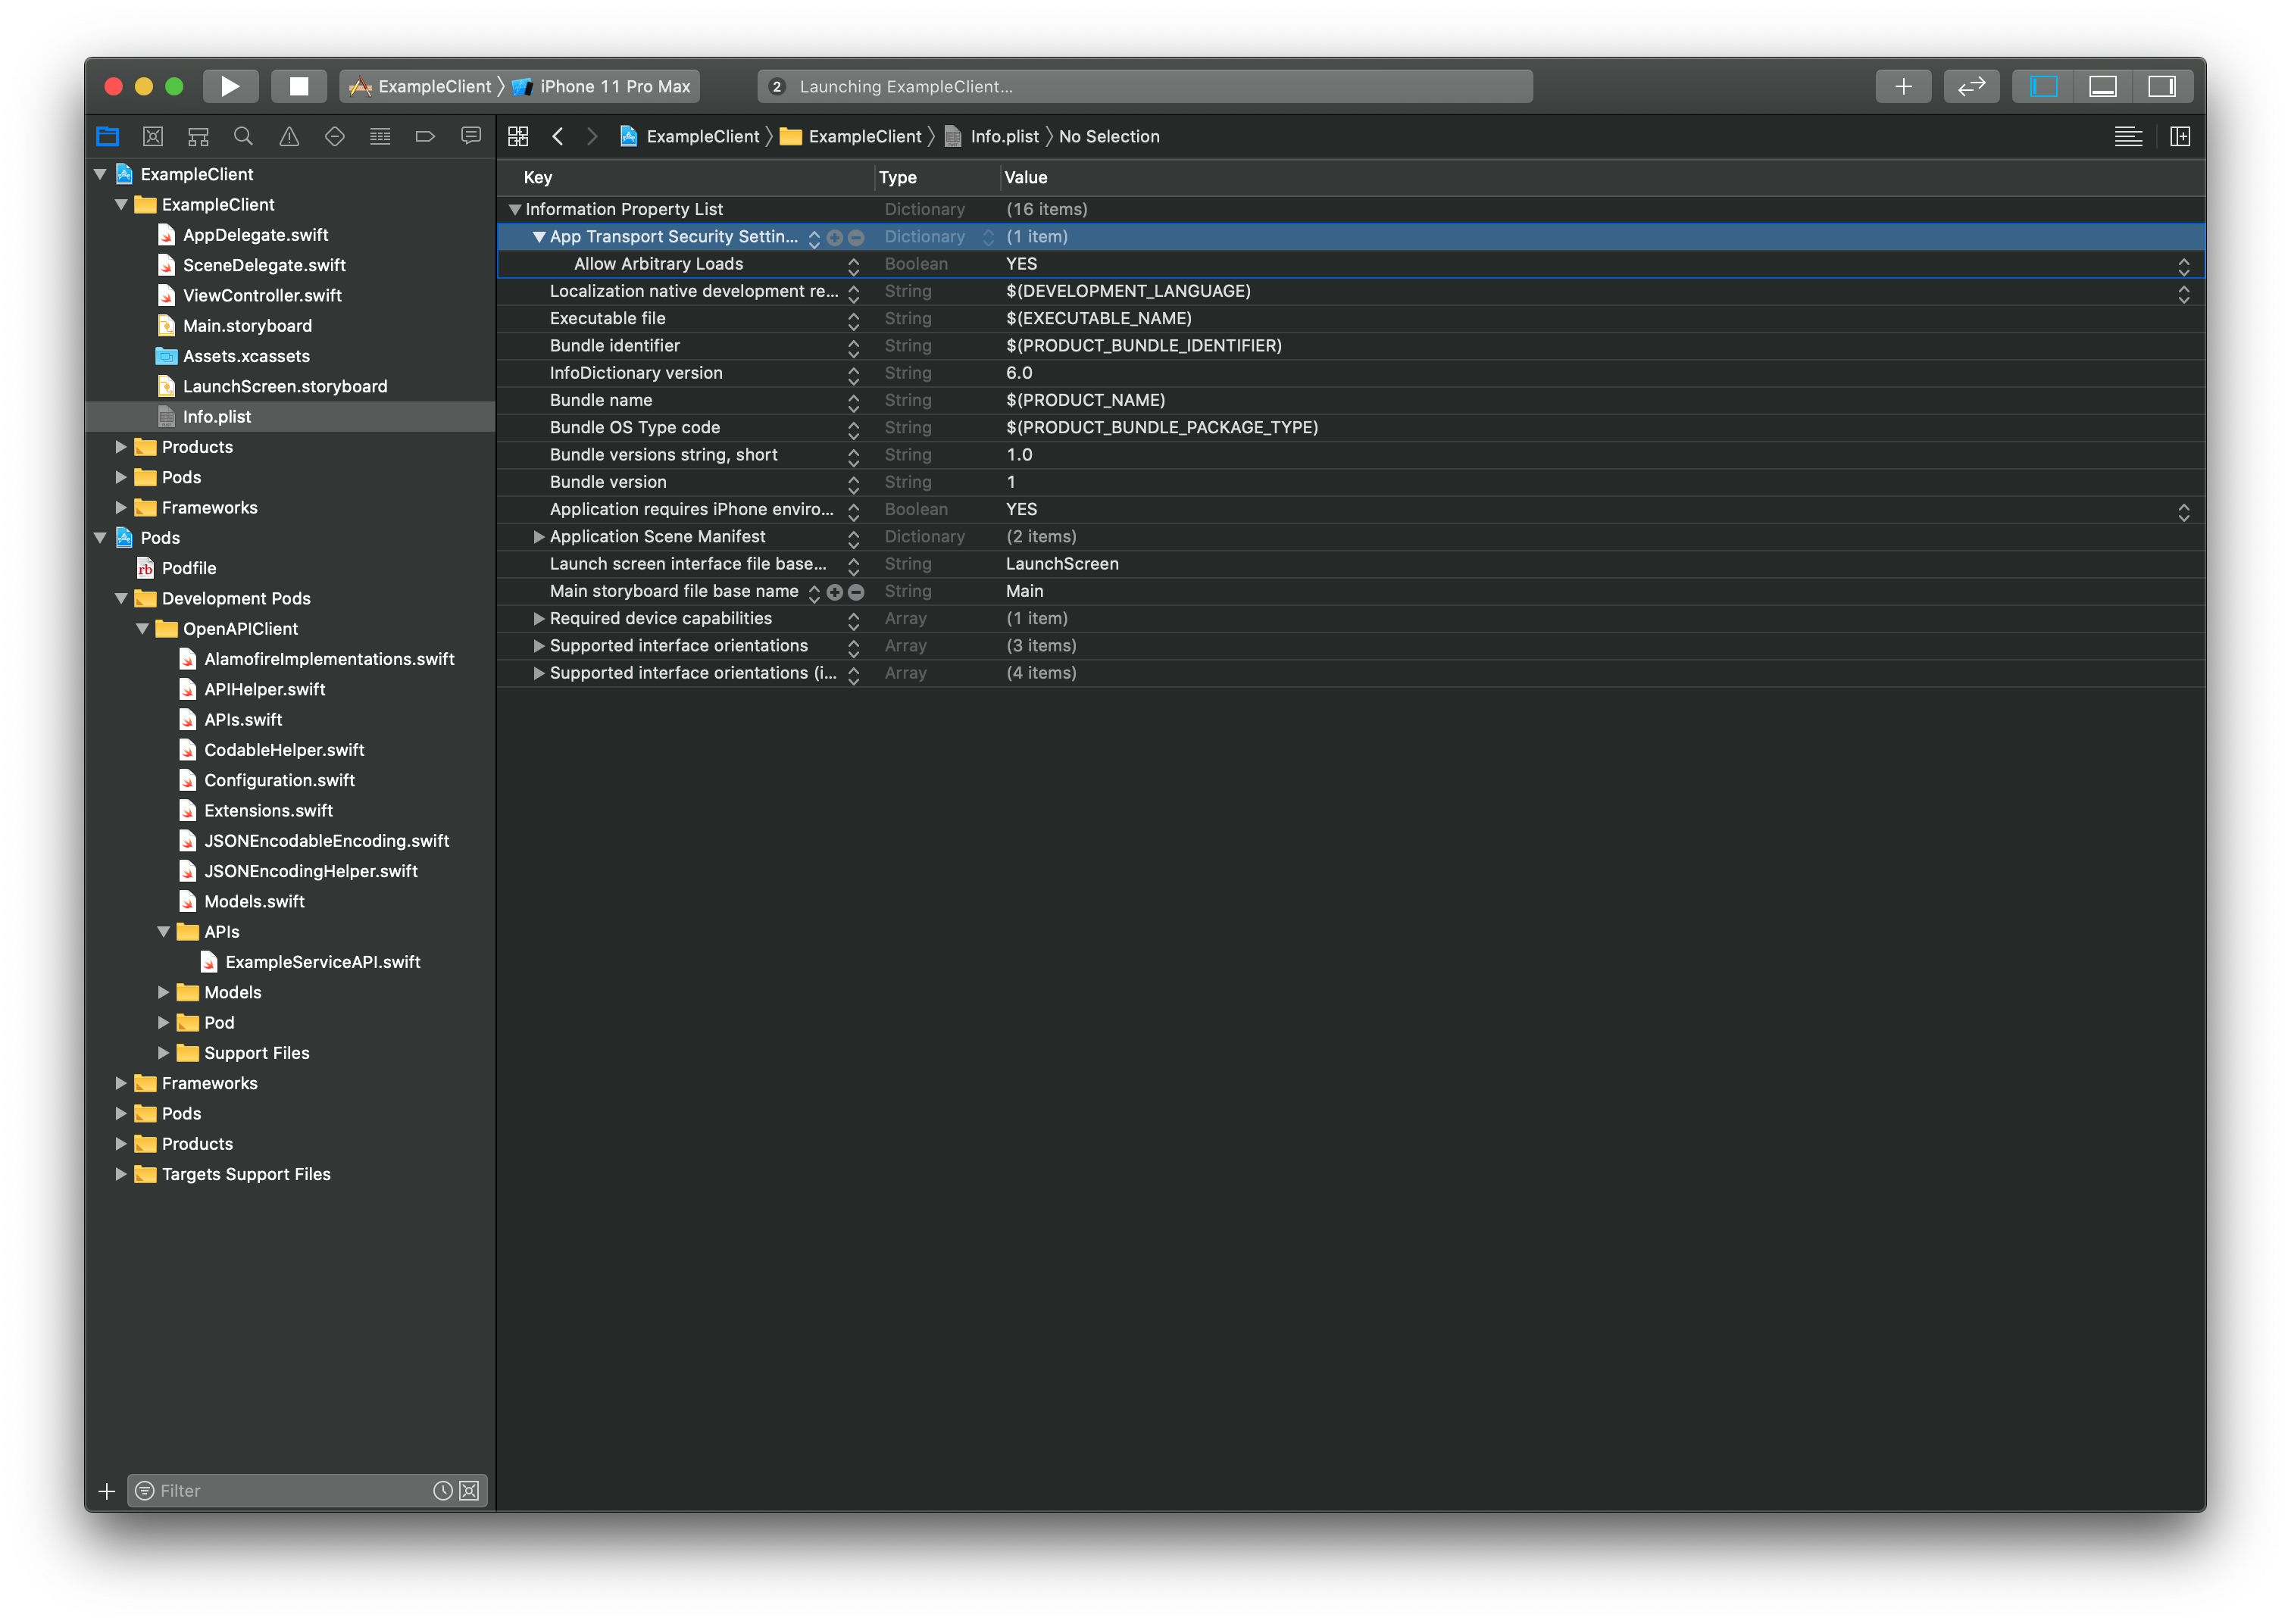
From the project overview on the left of the Xcode window, open Info.plist and add the key "App Transport Security Settings", which should then contain the key "Allow Arbitrary Loads", set to "YES".
Your final Info.plist should resemble:
Building the Project
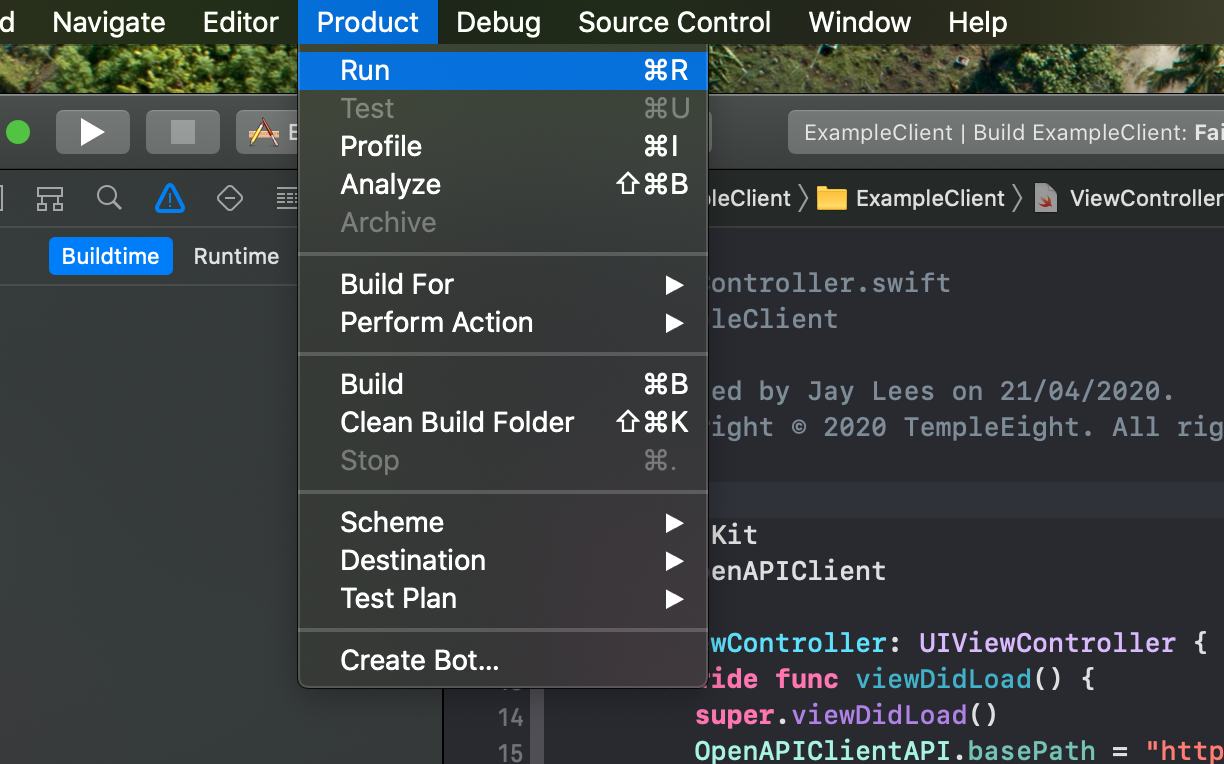
We can now go ahead and build the Xcode project, by going to the Menu Bar: Product > Run
important
When building the Xcode project you might find an error that resembles:
Protocol type 'Any' cannot conform to 'Decodable' because only concrete types can conform to protocols
This is an issue with the OpenAPI generator for Swift.
A simple workaround is to find the offending line, by double clicking the error message, and replace occurences of the type Any in that function with [String: String], including the function return type.
After the simulator eventually boots, you should see an output in the Xcode console which resembles a successful response:
InlineResponse200(id: Optional(7363A1A9-8420-11EA-B33F-0242C0A83003), foo: Optional("hello"), bar: Optional(123.0))